Thursday, October 21, 2010

A Sister's Wedding


Lauren agreed to make our sister Melanie's wedding cake. Lauren's so creative, I would have never thought of the pattern that she decided to create!

After the stripes were all applied, Lauren added a pearl border to make everything look finished.

Melanie got some extra flowers from her florist to match her bouquet.


It turned out really beautiful (and it was delicious)!


A Good Idea


I was watching Food Network one day, not that long ago. On the show I was watching the chef made individual lasagnas. In this particular lasagna has a filling made of corn, marcarpone cheese, ramano cheese, and provolone cheese. I thought this particular recipe tasted good, but I thought it was a better idea than recipe.

If you wanted to make your favorite lasagna recipe individual all you would have to do is have some ramekins, really that's the only difference. If you want to know how to build these little cuties you can find the original recipe at
http://www.foodnetwork.com/recipes/giada-de-laurentiis/mini-lasagnas-with-sweet-corn-and-mascarpone-recipe/index.html

Thursday, July 1, 2010

Pizza - Chicken Style


Today I decided to make chicken, artichoke, spinach pizza. Your spinach can be fresh or frozen. I had frozen spinach so I cooked it in the microwave, then squeezed of the liquid out of it once it cooled down. I used marinated artichokes from a jar, but you can use just normal, non-marinated artichokes, that you can find in a can. Obviously your chicken needs to be cooked. Grilled tastes really good, but the wind was too strong for our BBQ grill to work very well, so I roasted it in the oven for 20 minutes or so, then sliced it into pieces once it was cool enough to handle. For the sauce I use ranch dressing with about a quarter of a teaspoon of garlic powder mixed in. You can use fresh or minced garlic if you want to.


I make my dough in my bread machine, but you can use what ever recipe you can find to make pizza dough. Or you could even buy frozen or fresh dough at the grocery store.


One tip that I can give you when you're preparing the crust, try not to use a rolling pin. Rolling pins squish all of the air bubbles out so you get a flat crust. If you have your dough in a ball, start poking it with your fingers, starting in the middle and working your way to the edges. If your dough is seeming like it doesn't want to stretch for you, let it sit on the counter for ten minutes or so, then try again. And it's ok if your crust isn't a perfect circle, it still tastes the same!


Every time I make pizza I have to make bread sticks too. I use the same crust, but butter it, sprinkle it with garlic salt, and top with cheese. Bake, and it's delicious!


I use a pizza stone to make my pizza, you don't have to, but I've had best results using a stone. But if you do use a pizza stone, make sure it's preheated, so you're building your pizza on a HOT stone.
When I preheat my oven to make the pizza, I just put my stone in there to preheat too. Once the oven is preheated, the stone should be ready to go. If your stone is preheated, you won't get a soggy crust. But once you start building your pizza on your hot stone, you've got to be quick about it so your stone doesn't cool down.


This is one of my favorite pizzas. Another really yummy chicken pizza is chicken, broccoli, mushroom pizza. Use sour cream as your sauce and the put cheese, cooked chicken, broccoli, and mushrooms on it. It's wonderful!

Monday, May 3, 2010

Dulce-de-Leche

I recently had a major cookie failure. One delicious thing did come out of it though, and for that I am grateful and would love to share a one ingredient, no hassle recipe for the caramel-like-but-definitely-not-caramel-treat: Dulce de Leche!

Here's what you need:

   a can of SWEETENED condensed milk
   a crock pot  
   a fair amount of patience

Here's the process:

   1) Put the can of sweetened condensed milk, label removed, into your crock pot
   2) Fill the crock pot with water so that the can is completely covered with water
   3) Cover and set to Low
   4) Wait eight hours (Yes, 8. It isn't like you have to do anything.)
   5) At the end of eight hours turn off the crock pot and wait for the whole thing to cool completely (Please please please let it cool, this is for your safety. I could explode all over you if you don't.)
   6) Once the can is cool remove it from the water and open with you favorite can opener and Viola! You have the perfect topping for ice cream, cookies, cakes, fingers, fruits (like bananas or apples, yum!), or basically anything you think might need it.

I couldn't get a good picture of it but just so you know mine turned out to be the EXACT color of peanut butter.

Tuesday, April 13, 2010

Double Birthday

A couple of weeks ago our family celebrated the Isaacs' birthdays. For the double party I made two ice cream "cakes". There happened to be no cake involved at all.

The boys were really excited to try this new concoction made of cookies and ice cream. They both had a hard time sitting still so I could take their picture.

I made a peanut butter and chocolate cake (back) and the other one was modeled after Neapolitan ice cream (front), but this method can be used with any flavors of ice cream and cookies you like.

This recipe was very basic and easy, but pretty time consuming. I started by making most of a package of cookies into fine crumbs(I used Oreo cookies for the Neapolitan cake and Nutter Butters for the peanut butter cake). Using a spring form pan, I spread two-thirds of a cup of the cookie crumbs on the bottom of the pan, then mix them with a few tablespoons of melted butter. Once the crumbs are moistened press that mixture into the bottom of of the pan to make the crust and bake until the crust is set and fragrant. Obviously, the crust and pan needs to be completely cooled before you start layering the ice cream.

For each layer of ice cream you'll need one pint of ice cream. To make the first layer, work one pint of ice cream with a spoon in a bowl to soften the ice cream. Once the ice cream is softened, spread the ice cream onto the crust. Make sure to level the ice cream out, an offset spatula works great. After the ice cream is leveled off, sprinkle about half of the remaining cookie crumbs over the ice cream. Gently press the crumbs into the ice cream to help them stick. Wrap the pan tightly with plastic wrap, and place in the freezer. Each layer must be frozen before you add the next layer. I found it took about 30-45 minutes for the ice cream to get hard enough. Repeat this with the remaining two pints of ice cream, ending with ice cream, and make sure to let it freeze for at least two hours before you serve.

Decorate the sides with colored sprinkles, crushed cookies, nuts, really anything you want, pressing it into the sides after the sides of the spring form pan is removed. I topped my cakes with whipped cream and some left over cookie crumbs.

Thursday, February 4, 2010

Navajo Tacos


Lately, we've been having Navajo Tacos a lot! I'm really not sure why I never really made them very much before now, they aren't that difficult to make at all. In my mind all I need in my house to make them is ground beef, a chili seasoning packet, tomato sauce, and lettuce. If I happen to have other toppings it just makes them better! Last night I was lucky enough to have olives, cheese, and sour cream in my refrigerator.


For the bread portion of the meal I made my own dough, but you don't have to! Rhodes frozen dough (for rolls or whatever) will work great, and I even saw dough that you could buy by the bakery in Macey's earlier this week, which would make this meal even easier.

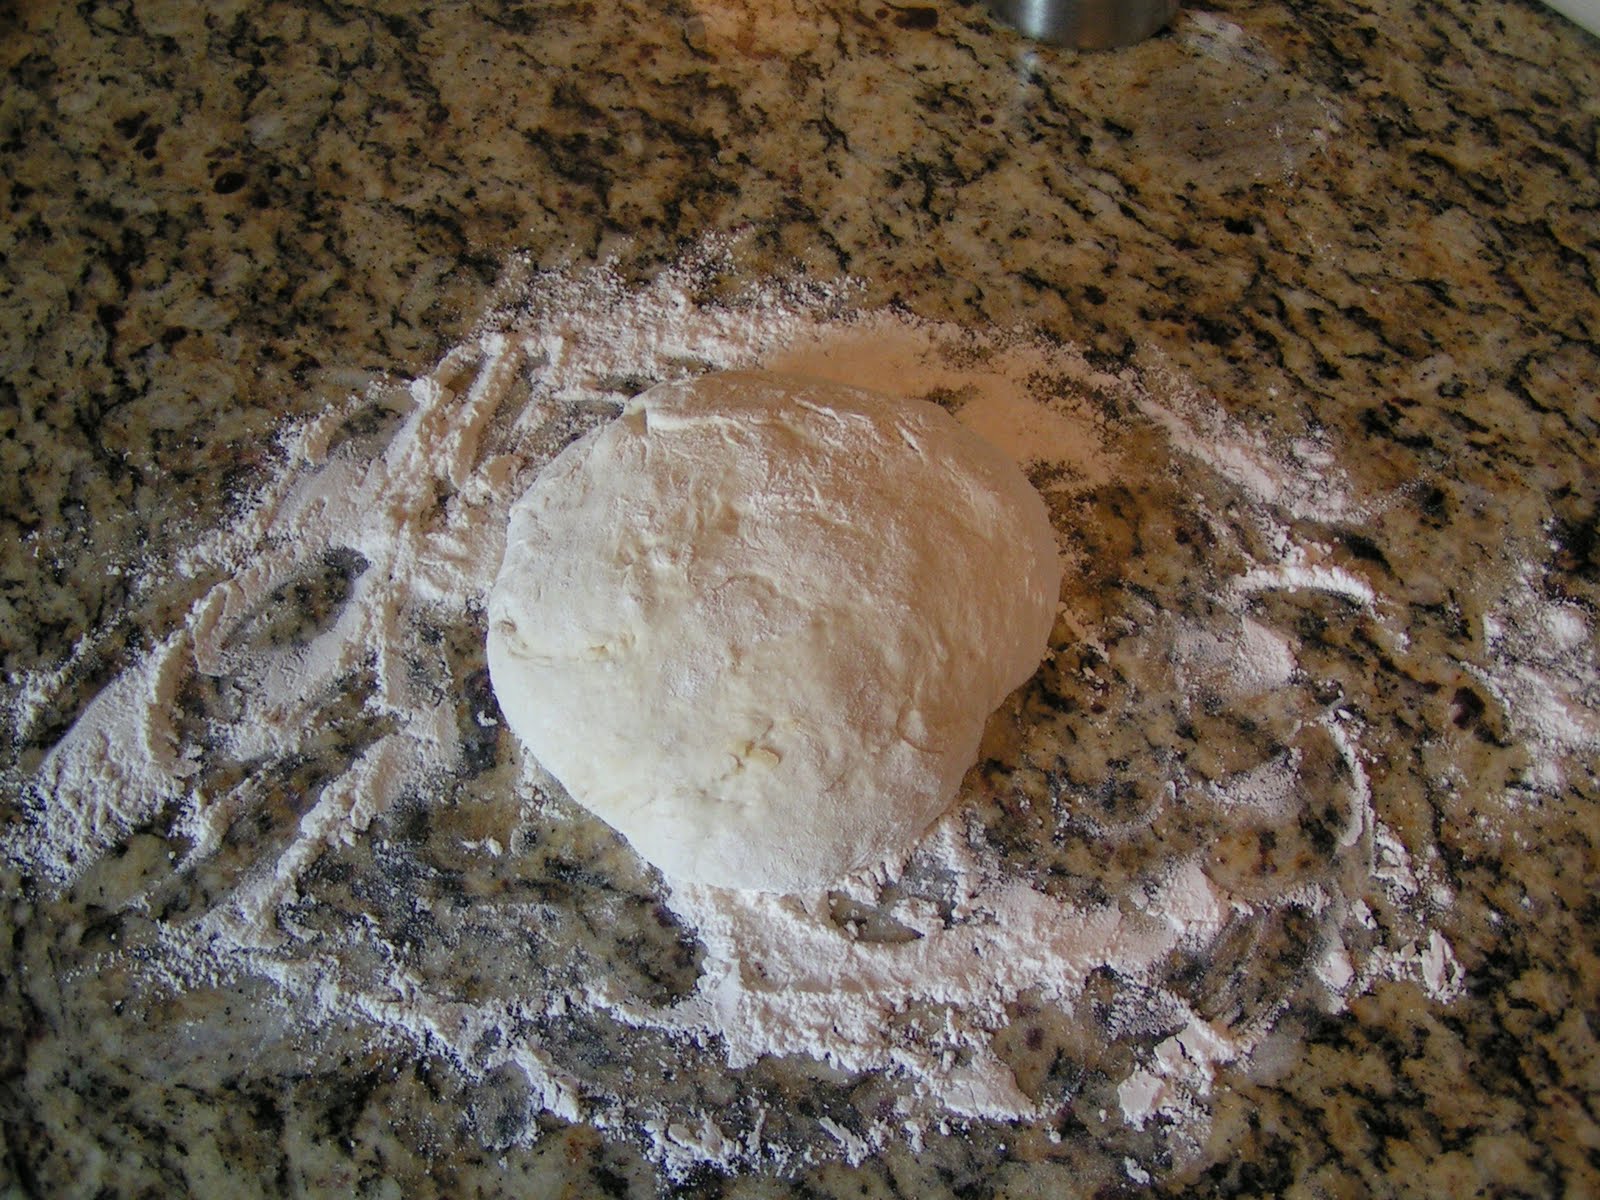
I started, in this case, by making my dough. When the dough only had about ten minutes left rising, I started all the other preparations. I usually start by prepping any veggies first. Next I browned a pound of ground beef, and stirred in one regular can of tomato sauce, a can of kidney beans, and one package of chili seasoning for the chili.


The dogs were really hoping I would drop something for them to snack on!


While the chili mixture simmers away that's when I start making the "fry bread". All I do is pinch off a little bit of dough and work it out into a circle-like shape (as you can see most, if not all, of my "circles" are more or less in the shape of amoebas) and place them in some hot oil that has been heating over medium to medium-low heat. As long as your oil isn't too hot, they will be done once both sides are browned. If your oil is too hot, the centers will still be doughy when the outside is brown.

Once the chili and fry bread are done, top the fry bread with all of your favorite toppings and enjoy!

Tuesday, January 26, 2010

Welcome!

About a month before Thanksgiving I was talking on the phone to my sister Jen. We were discussing all the thinks we were going to cook and what recipes we were going to use. All of the sudden a brilliant (yes, I do say so myself) idea hit me. A moment after it entered my head I blurted it out: "We should start a cooking blog!" So that brings us up to now.
So, for my first post: Fajitas!
To be honest these were not my idea, but my husband Isaac's idea. I had never had them before but he promised I would like them. (I did.)
I started by cutting up the veggies: onion, green bell pepper, red bell pepper, and zuchinni.

The green onions were suppose to go on top after everything was cooked but in my excitement I forgot.

After that I cut up the chicken. Cooked the chicken. Removed the chicken from the pan. Cooked the veggies. Put the chicken back in the pan. I used a package of fajita mix to add flavor because I'm just that authentic.


Isaac doing my bidding.

 After all that was finished it was just a matter of throwing it in a flour tortilla. I had mine with sour cream and salsa. Speaking of which I found my favorite salsa of all time...

La Mexicana Medium Salsa